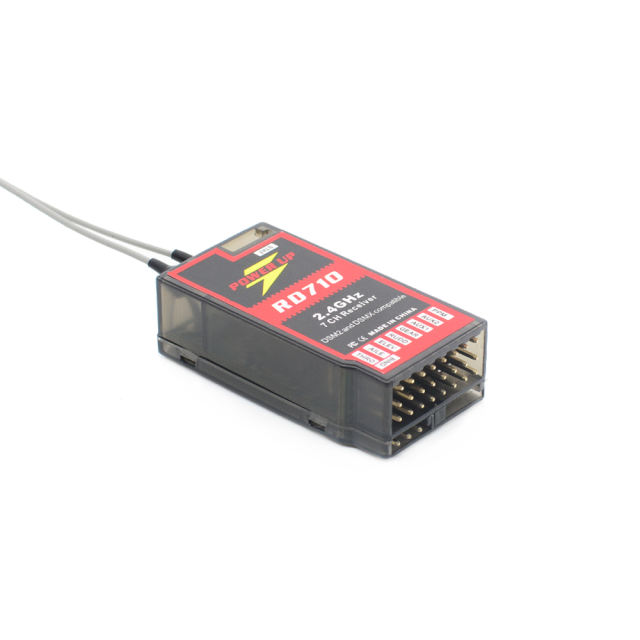
Great value and simple to use, the RD710 8ch DSMX and DSM2 compatible receiver features dual antennas for better range and signal reliability. Suitable for RC Models needing up to 7 channels of control.
Features:
Small and Light weight
Dual Antenna
Full range
Specifications:
Dimensions: 1.81" x 0.94" x 0.55" (46mm x 24mm x 14mm)
Dual antennae: 5.41" (13.75cm) each
Weight: 0.35 oz. (10 grams)
Operating Voltage: 4.8v - 8.4v
7 Channels: Throttle, Aileron, Elevator, Rudder, Gear, Aux 1, and Aux 2. This receiver also has a sepate battery/bind port, as well as a PPM output and a data port.
Range: 800M+ (2500+ feet)/Full Range
INITIAL BINDING INSTRUCTIONS (please also check the instructions included with your transmitter):
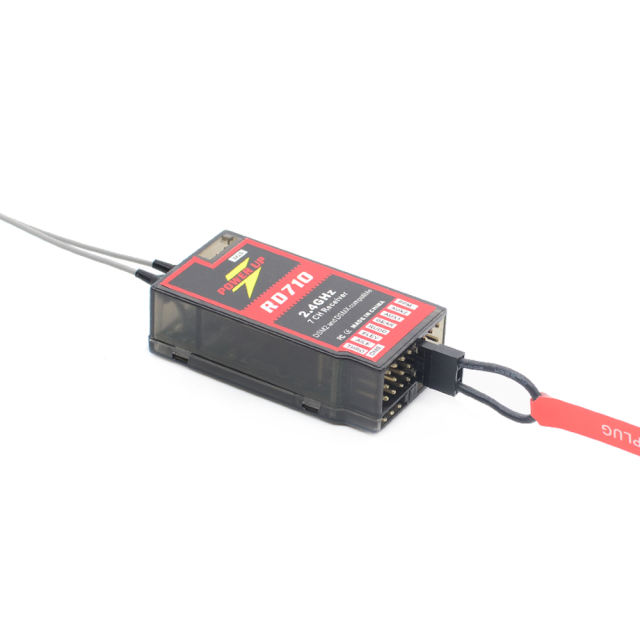
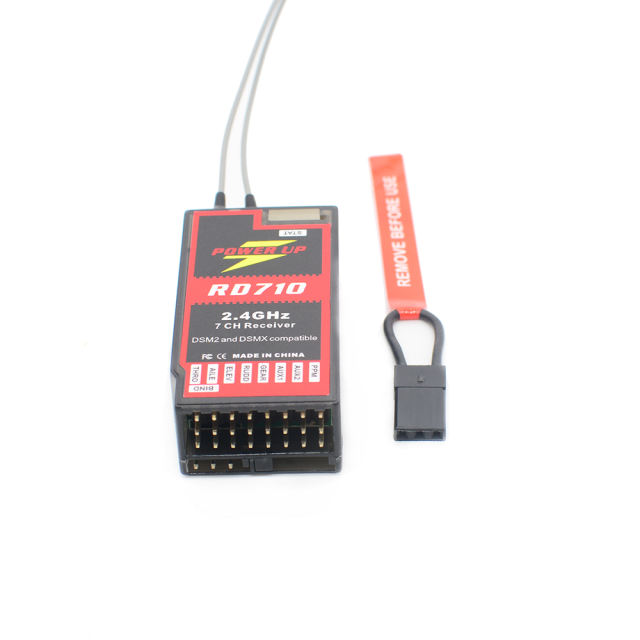
1. Insert Bind Pug into the Batt/Bind port.
2. Apply power to the receiver, either through an ESC connected to the throttle port, or a separate UBEC or receiver battery connected to any open port. A light will blink, indicating that the receiver is in bind mode.
3. Press and hold the bind button of your transmitter while turning on the transmitter. Hold the bind button for up to 10 seconds, until the light in the receiver remains solid on.
4. Remove the bind plug. The receiver is now ready to use, and should not need re-binding when used for subsequent flights.
BINDING WITH FAIL-SAFE:
*Be sure that the control surfaces on your plane are aligned correctly and your servos are set to neutral before setting failsafe. Also be sure that they throttle stick on your transmitter is set in neutral.
1. Insert the Bind Plug into the Bind Port.
2. Apply power to the receiver, either through an ESC connected to the throttle port, or a separate UBEC or receiver battery connected to any open port. A light will begin blinking, indicating that the receiver is in bind mode.
3. Remove the Bind Plug from the receiver. The light will continue to blink.
4. Press and hold the bind button on your transmitter while turning on the transmitter. Hold the bind button for up to 10 seconds, until the light in the receiver remains solid on and you have servo control.
To test the fail-safe function, power on your receiver and transmitter as though ready for flight; test the control surfaces of your aircraft by moving the transmitter sticks back an forth. Stand some distance away from the model, then turn off the power on your transmitter; the control surfaces will automatically return to the position in which they were when you set the fail-safe bind (preferably neutral, as suggested above).


![[PRE-ORDER] RadioMaster - ER5A-V2 ExpressLRS receiver](http://ueeshop.ly200-cdn.com/u_file/UPAX/UPAX406/2311/02/products/ER5A-1000x1000-9-b177.jpg?x-oss-process=image/quality,q_80/resize,m_lfit,h_500,w_500)
![[PRE-ORDER] RadioMaster - ER5A-V2 ExpressLRS receiver](http://ueeshop.ly200-cdn.com/u_file/UPAX/UPAX406/2311/02/products/ER5A-1000x1000-5-86f2.jpg?x-oss-process=image/quality,q_80/resize,m_lfit,h_500,w_500)